Showing posts with label DIY. Show all posts

Wednesday, October 4, 2017

Spoon River Drive 2017

Well it sort of feels like Fall in Illinois. This week the 80 degree temps finally dipped a bit and allowed for boots and a light cardigan. With leaves changing comes pumpkin spice lattes, chunky sweaters, boots, apple cider, pumpkin-patching, plaid...you get the point. But maybe best of all, my most favorite weekend to kick off all things Fall: Spoon River Drive flea market weekend. 

Every year this event is on our calendar. My mom, sister and I load up in my dad's work van and travel the Spoon River Route popping in and out of vendors booths, antique shops, and flea markets. We typically fill every inch of the vehicle with treasures.
We usually follow about the same route every year, sometimes changing it up--sometimes not.

2016 Route:
Hannah City
Farmington
Canton

Hannah City: Go to Hannah City for the junk vendors. This town is typically filled with vendors on the side of the road, in parking lots and front yards. It's the first town on our route and a pretty good warm up. The can't-miss-it-stop is a guy selling antiques and junk in someone else's garage and driveway. Last year he told us it was his last year. We sincerely hope he lied to us.

I bought two of these tiny little school chairs for Ben for $5 each from the Hannah City garage man. He had a bunch of them, I should've snagged them all. Flea market regrets, sigh.


Off the Beaten Path: After Hannah City, we headed towards the next stop on our tour which is Farmington. Last year, we ventured away from the actual route a tad. We randomly followed signs for a 'BIG BIG SALE' to a sort of scary one lane gravel road into the woods. We were a tad nervous that we were being fooled into a kidnapping plot.

Quick side story: a few years back, we followed the random signs that said things like 'BIG BIG SALE' and 'TURN HERE FOR DEALS' and we did, and it was a bust. A super bust.
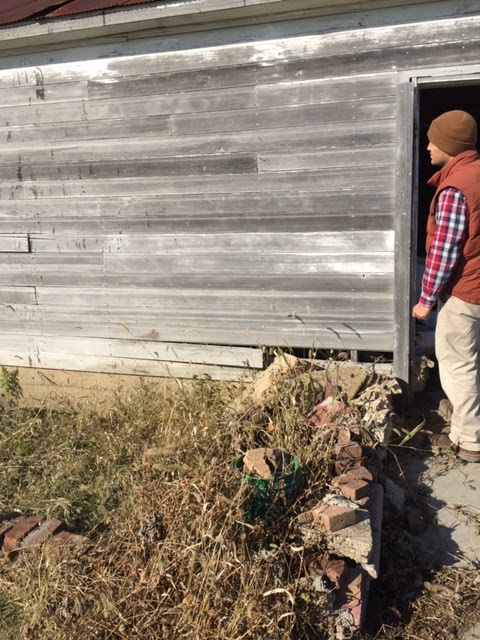
So why we decided to take another chance, I do not really know, but we were glad we did.  We were not kidnapped. We had actually hit the jackpot of junk stops. We ended up at an old farm house in the woods with a few barns---completely filled with junk. I mean filled. The new owners had bought the property completely full and were trying to make it through the stuff.
They were practically giving stuff away.  I can't even tell you what we all bought but this is what our vehicle looked like when we left.


What I do know is that I got this bar cart for $10. It was a rough looking golden beauty.
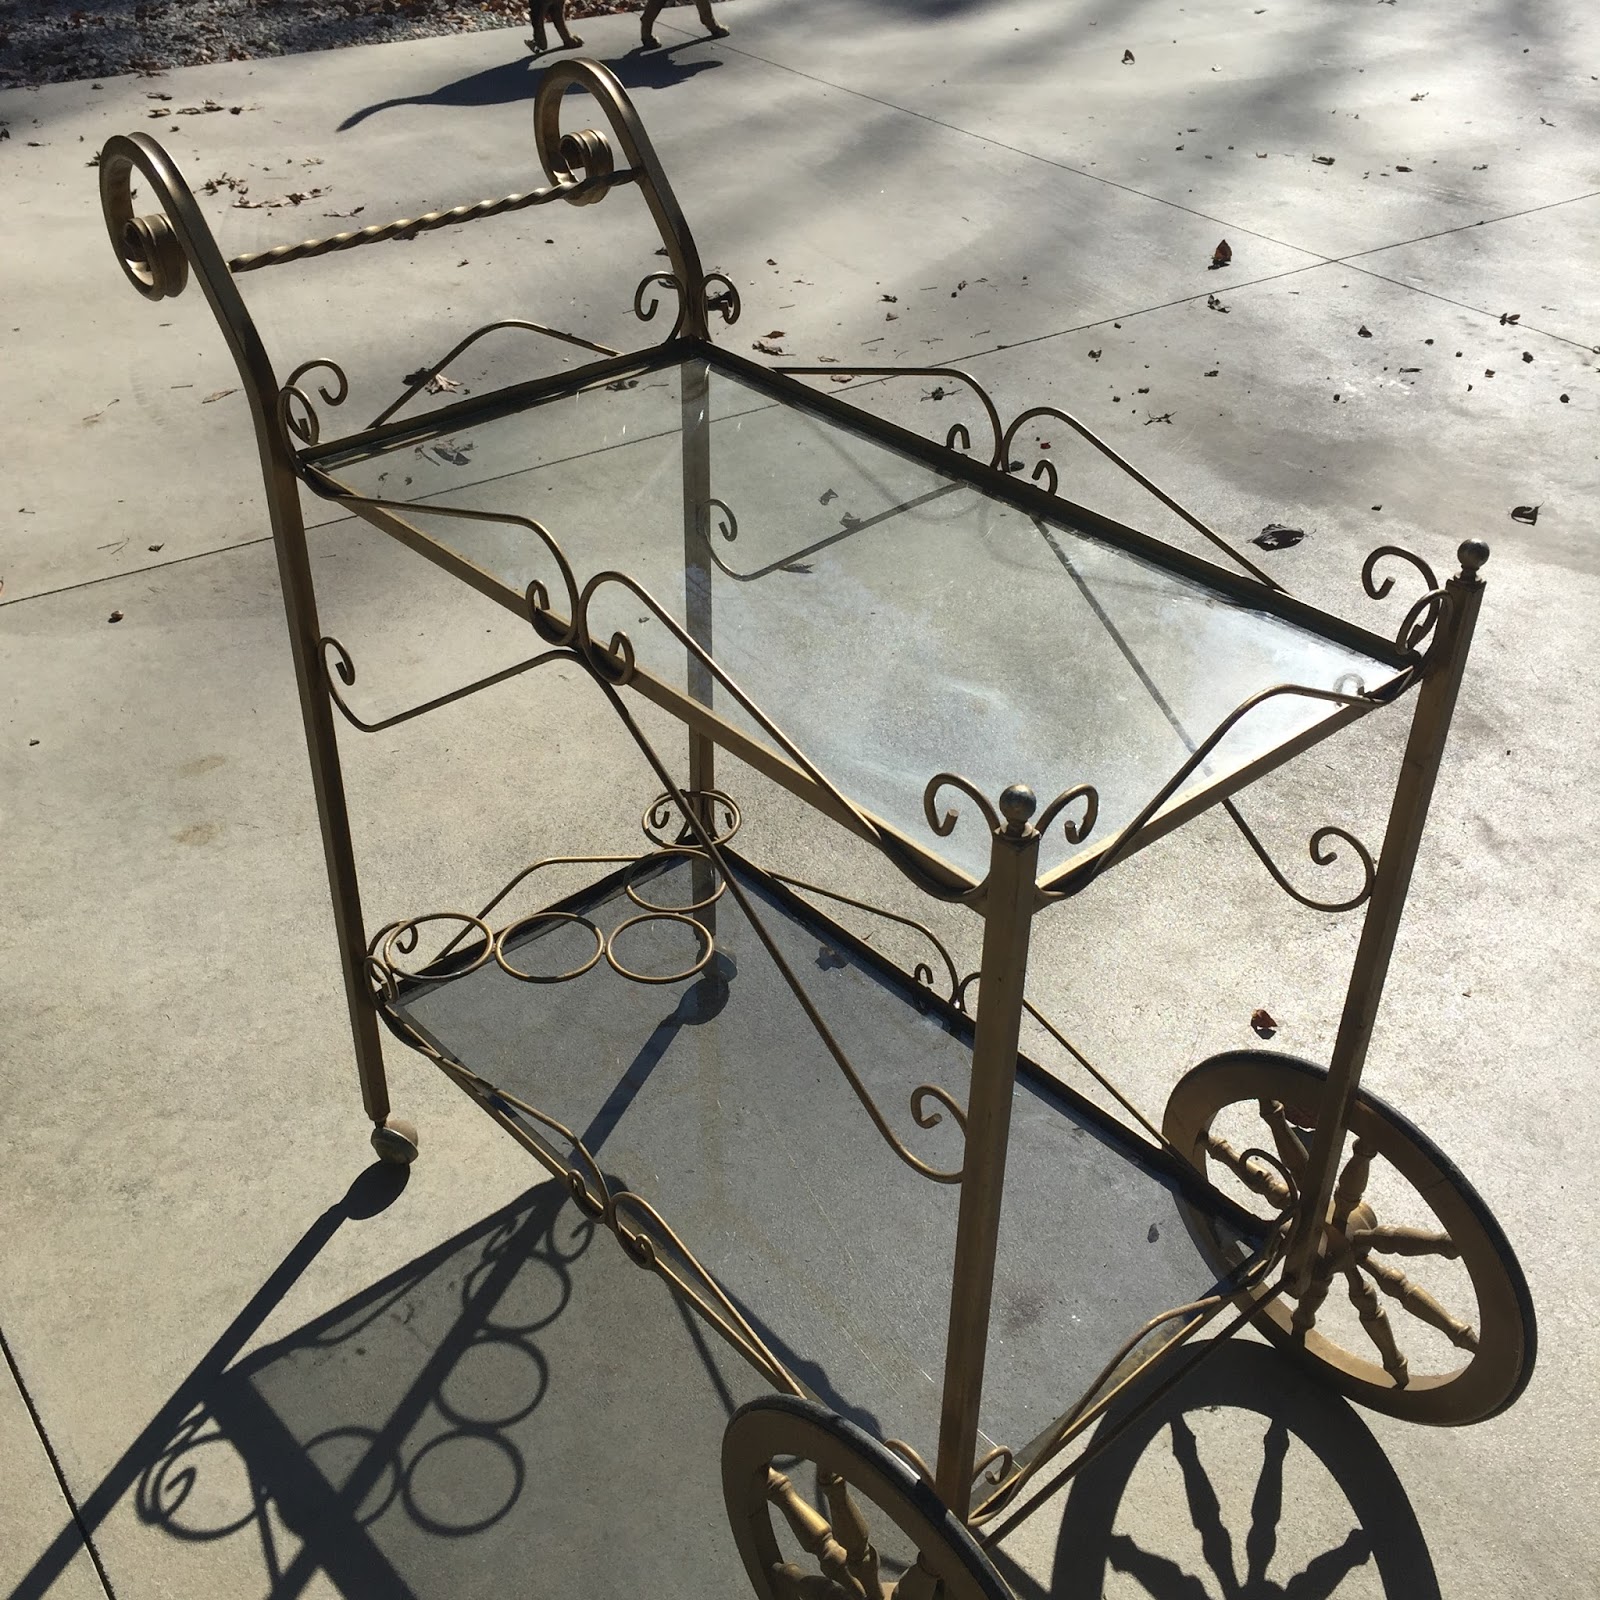

I cleaned it up and spray painted it ORB for my basement wine nook.
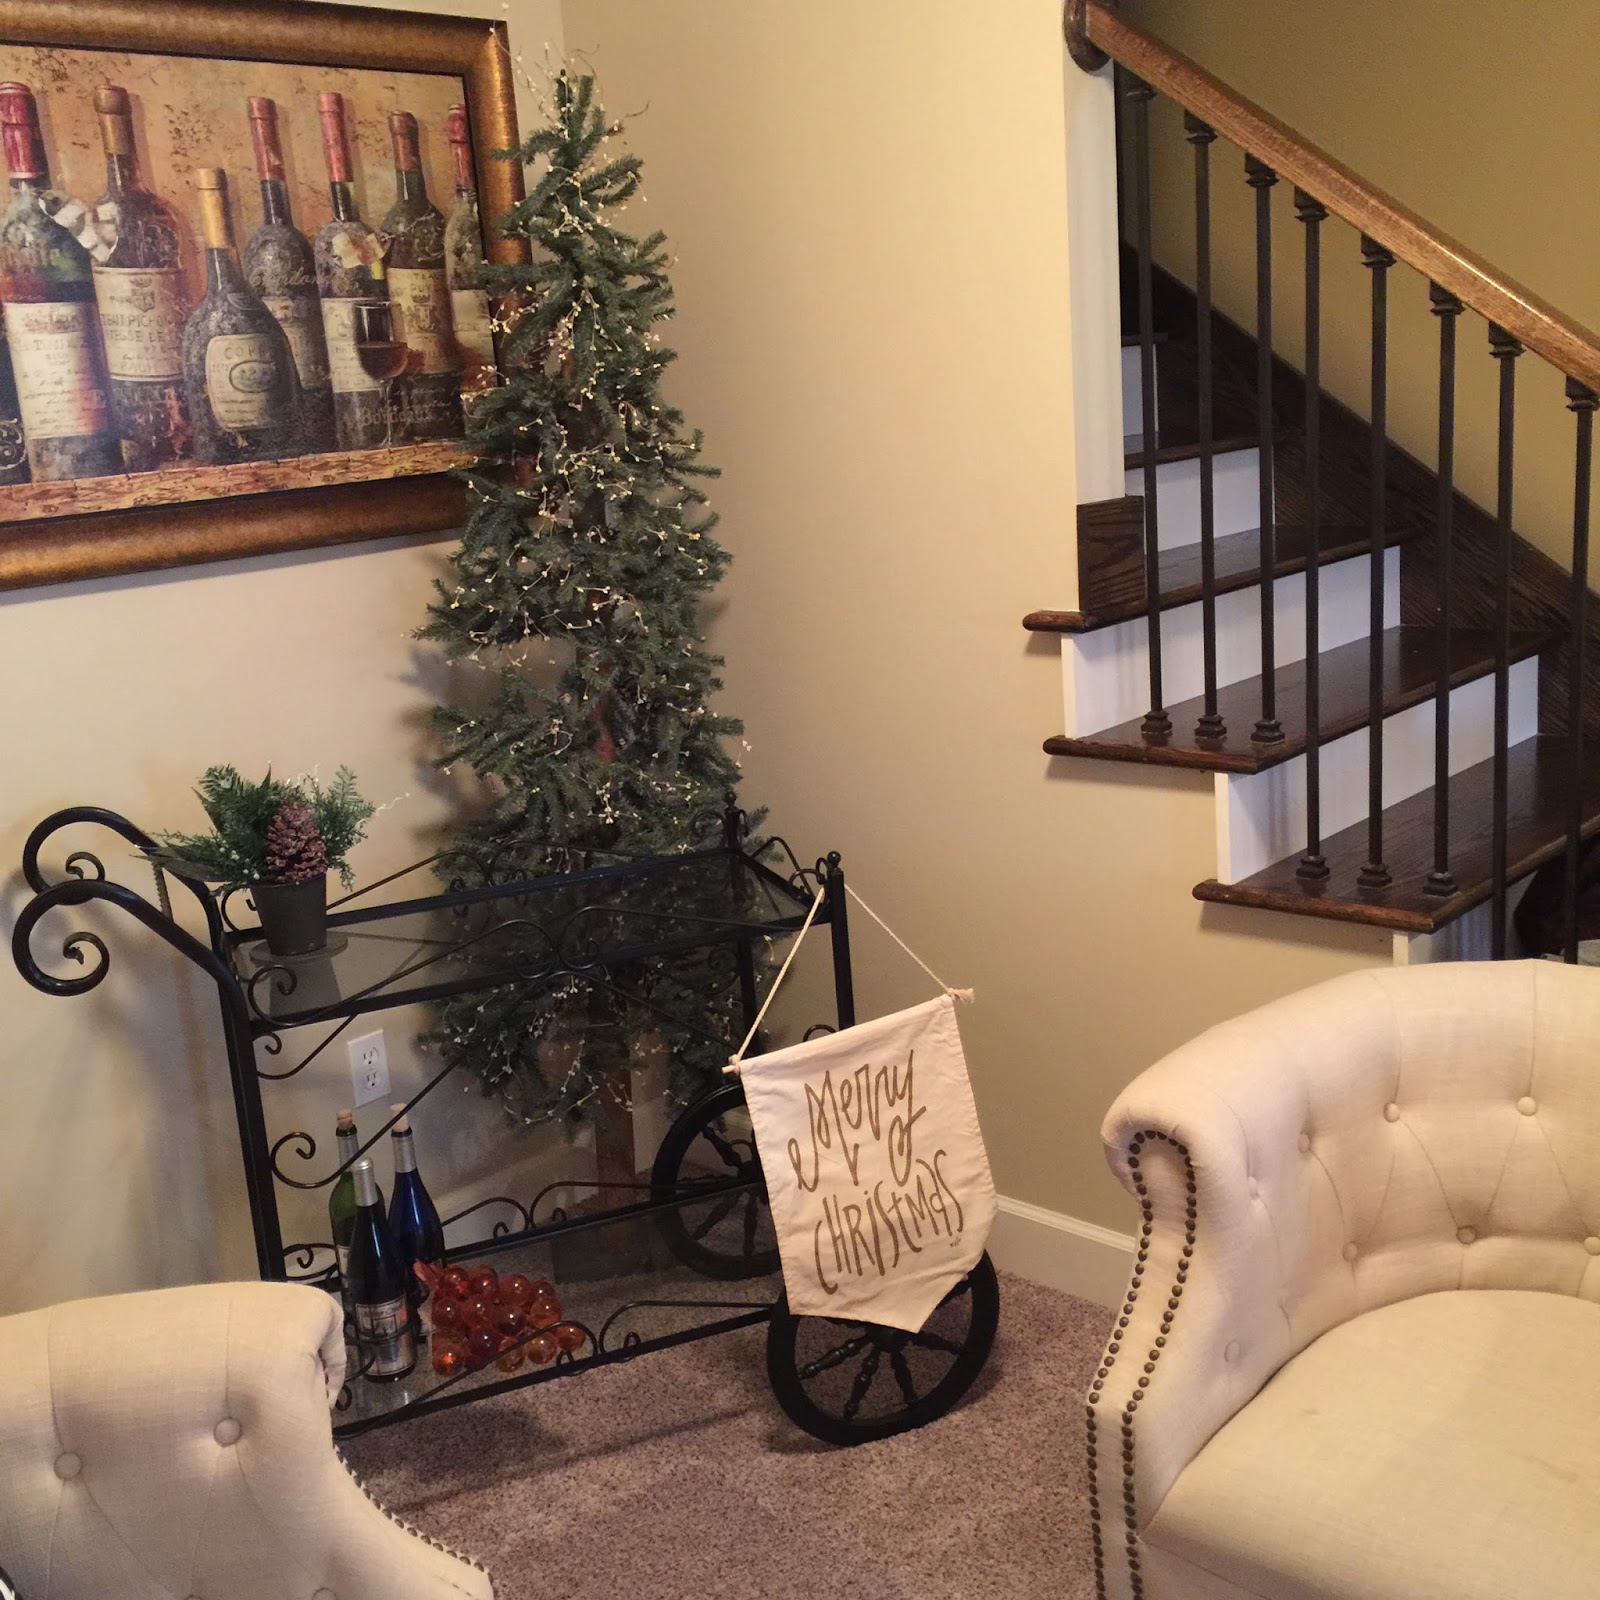


So basically the moral of my story is, if you see a bunch of random signs on Spoon River Drive telling you about a BIG BIG SALE, it may be the jackpot of all junk spots--or it may be a trick. May the odds ever be in your favor.


Farmington: I suggest you plan to spend some time in this town.

First, take a pit stop at the Moose Lodge's pancake breakfast for a quick bite. The food is very good and quick. Get the biscuits and gravy and a cinnamon roll to go! Plus, clean bathrooms. The parking lot all around the Moose is full of good vendors. Junk, antiques, crafts. We typically find a few good booths here.
There is pretty good sized craft show at the park in Farmington. We've skipped it the past few years. Mostly crafty stuff, less junk/antique stuff. But if crafts are your thing, go. Be sure to visit booth with the ladies who sell homemade breads and pastries, they have really delicious baked goods. Take home some raisin bread for the week.

Next, and most important, head to the fairgrounds. You have one goal for the Farmington Fairgrounds. One goal. Get the apple fritters. I mean it. If you do anything in Farmington, stop at the fairgrounds flea market and wait in the line for the apple fritters. The line looks sort of long, and it is long.  I promise after you take a bite of the warm apple fritters your only regret will be that you placed one order, and not two.
There are vendors all along the way to the fairground in town. Stop and see what they have to offer too. Then after you get your fill of fritters, take a walk around the flea market at the fairgrounds. Several rows of fun booths, plus tents fills with cheap socks and kitchen strainers.

Then turn around, and head towards Canton.


Canton: Again, go for the junk vendors. Junk vendors are everywhere along the Spoon River Drive. Stop when something catches your eye. Buy all the junk.

My mom bought these random drum things from one of our favorite vendors and I don't even know why...but my sister is lucky they didn't have more or she'd be calling herself an Uber.


That's it folks. I will try to post a recap of our weekend and flea market finds before Spoon River 2018, but don't count on it. If you want to find your own Spoon River Treasures, see below for info.


What: Spoon River Scenic Valley Drive
When: First two weekends in October; 7-8 and 14-15
Where: Fulton County, Illinois
More Info: http://www.spoonriverdrive.org/
2015 Let's Just Build a House Spoon River Recap: Spoon River Drive 2015
source


Wednesday, July 26, 2017

Retaining Walls: Railings and Stonework

Heyyyyy you guysssss...


We're back. We're back for a quick update. I know, I know, we were supposed to share the basement and home bar update months ago. But, not today. Someday.
We've been working on a little DIY project lately and it really should be documented. Well, maybe I should say, we've asked my dad to do another DIY project for us.

If we back up a little and look at photos from the build in 2012, we started with two pretty unsafe and very bland retaining walls.


I mean, they did the job. They kept the dirt mud where it needed to be. They were fine.

They were fine for a few years. Then we went and had a baby in 2015. Then that baby became a toddler and started walking, then running. Really, he runs all over.  Also he climbs, climbs everything. So, the time came to make the retaining walls a bit safer. We needed custom railings out back asap.

Luckily for us, my dad retired this year and has a bit of extra time on his hands. Bonus: he's a retired Ironworker. Steel railings sounded sturdy and safe.

Adam, my dad and I discussed what we wanted the railings to look like. Mostly they talked about it and measured. I showed them a dozen Pinterest photos. But still, we discussed.

Then they poured a concrete cap on the top of each retaining wall. They also installed steel plates where the welded posts would be secured.
Then my dad got to work. Welding away the steel to create the railings. He welded two railings. One approximately 16 feet, the other 20 feet.

After he finished, he set the railings, then welded the spindles. Adam was his trusty assistant.
Last, they painted them black with black metal paint. 


Complete.


Finito. Or so we thought.

About that time we mentioned that someday we would like the retaining walls stoned. If you are new here, my dad did all the stonework on our house. The exterior has about 350 square feet of custom stonework.  Our two-story fireplace is in the heart of our home. He did that too. We love it all, and it's a wonderful feature of our home. It's extra special because my dad did it himself.

Well, back to those two retaining walls...
Next thing you know we are ordering the stone and my dad is back with his tools. I told you he's retired now.


The stone is from the same quarry as what we used when we built. It's a cedar web-wall. We use a 2 inch cut natural stone. My dad picks and chooses his stones, and cuts many of them to create the web-wall. He uses his own mix of mortar. 


He's been doing this for most of the summer, but not every day. He'll come down and stay with us a few days here and there. A fishing trip and a Mexican vacation in between, and then he's back. He even had a helper some days! In matching overall bibs... all the heart eyes right here.


Ben really loves helping his Pa when he's visiting. He's not too upset about the giant pile of sand in our backyard at the moment either. (The sand is needed to make the mortar mix).

I have to say, our patio furniture looked even better when the wall was only 1/3 of the way done!

Getting closer...


And then just last week. It was done.

It looks even better than we imagined.

This was last week, and he's already been back to start the second wall. Soon we'll be having a patio party! We'll report back soon. Probably.

Monday, May 16, 2016

Hand Print Planter: Mother's Day Gift

I just love now that I have a kid I can do fun artsy fartsy personalized gifts for grandparents.  This year we made flower boxes for both of Ben's grandmas.

It was super simple. We did hand prints on one side, and text on the other. You can make it even easier: handprints only on both sides. Or, you can do a fancier stencil, or Modge Podge photos. Whatever you think Grandma would like.


First, get yourself the planter. You can either build yourself a simple planter box, or buy one. We planned to build our own, but we both got swamped with work in the end of April. We were glad to find these so easily at our hardware store even if we do lose a few DIY points. These red cedar planter boxes were purchased from Menards for less than 10 bucks each.

One evening before tubby time, we set up the supplies to roll art paint onto Ben's hands. It seemed like the simple and quick part of the project. We got the camera ready for a photo opt. "The pictures would be so cute to show the grandmas!"  It ended up being a bit more chaotic. Instead of documenting the event with photos as we'd imagined, it went a little something like this:

"Look Ben, we're making your grandmas Mother's Da-- ucky no, no."
"Don't let him touch his mouth!"
"You're smearing it!"
"Don't rush me."
"Hurry, I need a rag."
"NO. Do not eat it."
"Crap, it's on the dog!"

Sounds fun huh. After that mess, this is what we ended up with on the planters.


After the baby was cleaned and put to bed, I poured myself a diet coke and got to work.  Stenciling was easy and sort of relaxing. I traced with pencil, then went over the stencil once more with a q-tip and the paint. They're weren't perfect of course.


The grooves of the wood made it hard to get each letter lined up, but we're going for the rustic look today.


I went over the boxes with one coat of Minwax Early American the next day. I was going to leave them unfinished, but decided to give it a shot, and I liked them even more. In between the stenciling of the Grandma boxes and the staining---I made my own planter box for my herbs. However for mine I decided to skip the hand prints. It was not as easy as it was cute.

Then we planted.


I like how my herb box turned out too. I did skim Pinterest text ideas more interesting than 'fresh herbs' but I typically go for basic, and basic it was again. I'm happy with it.

Ben seemed pleased with his work.


What would you do to personalize your planter box? Add photos? A design?

Pin it, share it, and save it for Mother's Day Gift idea next year!

Next, we're sharing more basement updates!

Tuesday, February 9, 2016

Vintage Ceiling Tile Look for Less in the Bar

You probably noticed the beautiful dark decorative ceiling when we talked about our vintage tavern lights.


Adam really wanted the bar to reflect a ~real bar~ and not a ~home bar~ so I did my best to help him with that vision. I wanted the entertaining space to be a little more sophisticated than the college bachelor pad theme I think that Adam would have done without me vetoing the Big Lebowski posters and such. So, I tried to incorporate both of our wants in this design. Still no Big Lebowski Poster though...

The ceiling I think reflects our style, and goes with the rest of our home. Our contractor brought my design idea to life with a faux beam separating the "entertaining space" and the family space. I didn't want a plain old ceiling over the bar.  We considered using old copper or tin ceiling tiles, but knew that could be pretty costly not to mention hard to find.  

We originally planned to attempt a wood planked ceiling. After discussing with our contractor and figuring material and labor costs, we decided to drywall a large portion of the basement ceiling, mostly in the family room, then go with a combination of decorative and plain ceiling tiles in the rest of the space. This was more efficient as far as cost of labor for install, soundproofing, quick, and less mess!

However, I had a hard time coming to terms with the ceiling tile compromise. I know, it sounds ridiculous.  I just don't love the sponge-y look of most of the ceiling tiles. We went with the least amount of sponge possible for the plain ceiling tiles, and dressed up the rest of the basement with the decorative ones. 

We selected these decorative ceiling tiles from Menards. They come in pre-finished colors, but we opted to purchase them in white and give them a custom DIY paint job.
Spray painting Genesis Ceiling Tiles
Adam laid them out on plastic in the driveway on a semi-warm winter day and spray painted away.We used Rust-oleum hammered spray paint in dark bronze.


We also sprayed the track the same color before it was installed. It took a few cans of spray paint to paint all 30-ish tiles, but in all it was a pretty cheap way to add a custom look to the ceiling.

We both think it really gives the space the vintage and rustic feel we had in mind.
What do you think? What are you ceiling tile feelings?

Wednesday, January 27, 2016

Vintage Tavern Sconces & other Basement Lighting

It's pretty obvious that I can't design a space in my house without using something vintage. We searched flea markets with our basement design in mind but didn't really come up with any lighting fixtures that fit our taste. Well, my dad came to the rescue with these awesome old tavern lights.


They looked pretty junky when he handed them over. They were full of grime, crusty decades old cigarette smoke from the tavern where they lived combined with being stored in a musty dusty garage for years after that. But I love a good vintage find, and Adam loves old beer goodies so we took them home and cleaned them up.

The pair of Schlitz Bottle Sconces will go behind the bar next to the barn beam floating shelves. They're for sure from a local tavern in my hometown area, and from the late 50's. Just for fun, I did a little bit of googling and I found a few sets listed on Ebay. Guess how much... almost 300 bucks for the set! YIPES. That wasn't even in our budget to buy new sconces! Glad we got these babies for free.
Can be found on Ebay here: Schlitz Bottle Sconces.

1959 Schlitz Tavern Light
My dad also gave us a globe Schlitz light. This one is magical because it not only lights up but the globe spins. A quick google search verified this one was not as old, from the late 60's. I found the Schlitz globe light listed on Ebay too.  I'm surprised they are going for this much. We're not ever selling them, but it's fun to look up the going price of these old finds!


These oldies have been cleaned up and fitted with new wiring for a new home in our basement bar.

We also have been pretty annoyed with each other over the search for pendant lighting for the bar.
I wanted something ORB, and rustic looking.
Adam wanted small--like smaller than they make. But they lights still had to be 'manly enough' for a bar, and had to be adjustable height.

We ended up with 5 Kenroy Home Carson mini pendants.

The color and finish is perfect, and we both agreed on the shape. At 8 inches, they are a little larger than Adam wanted, but we compromised and he's hanging them a little higher than I normally would agree on. Who knew so many ridiculous arguments could be had over lighting. Now we know.

When we were building I had about 95% control over the lighting choices. Adam only vetoed a few of my picks and mostly because they were over budget. This time, he counts the wet bar as his space, so we had to compromise.
Under Construction Basement Bar
Our contractor is building us a beam in the ceiling to help show a separation of the wet bar and the family room. We have a nice separation with the flooring and I wanted to carry that up to the ceiling too. These pendants will be attached to that barn beam.  You can see above where the electrician roughed them in yesterday.

We'll have a few sconces on the barn beam poles in the hallway. We decided on these Globe Electric lights.
We think they'll pair nicely with the pendant lights, and the rest of the fixtures in our home.

We plan to have most of the lights in the basement on a dimmer so we can set the lighting to whatever we like for movie nights, parties, or just hanging out as a family. We're really looking forward to getting this space finished up in the next month or so. It's been lots of work on evenings and weekends.

What do you think of our lighting choices? Would you pay $300 for a vintage light fixture?


Friday, January 22, 2016

Basement Bar: Natural Slate Tile

The basement reno is coming right along. Today we'll concentrate on the progress in the main living area. In this space we'll have a wet bar and large family room.


Like the basement bath, we chose tile from Home Depot. We purchased the Marazzi VitaElegante tile in Ardesia for the rest of the basement.

Adam gets credit for this one. He picked it out. I was surprised myself how much I liked his choice. 
It 's in our price range and came in my preferred 6x24 size. It can pull out the grey from the barn wood that we'll be using and has warm and brown tones in the terracotta rust color that blends well with the rest of our home. We were digging the natural stone look. Everything we wanted. 


We had help with this part of the basement from our contractor. We probably could have handled ourselves, like the bathroom, but we chose to leave it to the professionals. We wanted that fancy angle in the tile to match the angle of the future bar. We felt like that spelled trouble for our novice tile experience. More on the bar plans later.


We chose to tile the entry way from the back patio too. Although we have a decent sized concrete patio and there isn't much chance for muddy shoes...I felt like walking into straight carpet would be a mess. We'll have the carpet laid in a few weeks around the tile.


And just because we hired contractors for some of it, doesn't mean we aren't still working our tails off. Here's Adam installing the door hardware. We're running around buying up the little things like door knobs, bath fans, and lighting this week and doing the little odds and ends when Benjamin is sleeping on weekends.


Next up, the lighting. Who knew lighting could be such a pain to pick out. When we were building, I had about 99% say in the light fixtures, Adam didn't mind. Now since his bar is in the picture, I have to appease him, myself, and our budget! Geesh.

Thursday, January 14, 2016

Basement Bathroom Progress Report

Even though there is crap everywhere, and the lighting is totally off, we wanted to post an in progress update on the basement bathroom reno.

Last post about the basement bathroom renovation I showed you our work in progress sleek tile floor.


Here it is as it stands today. The bathroom is odd L shaped, so it's awkward to get a good angle. Bear with me.


We really love the floors even more now in all their white grout beauty. Especially after we did all the work ourselves. Which is why it's not perfect. We did save a boat load of money. Although, it came with a cost of just a little bickering at each other in the process and sore knees and backs!


As far as the ceiling goes, we chose these decorative tiles from Menards. They are waterproof, and prettier than the spongy foamy tiles. We chose not to drywall this ceiling in case we ever need to get to the plumbing in the ceiling for this bath, and the master bath, which is directly above this room.
You will see these ceiling tiles in another post, we did something fun with them for a different part of the basement!

I made a decision on the real life vintage farm house sink debacle and ordered the faucet.


This is the faucet we ordered. It comes tomorrow, crossing my fingers it's the perfect fit. We measured 30 times, but since the sink is so old it will be tricky.

Most of our fixtures are Delta, but delta had slim pickins of wall mount options that matched the style we want. Can you guess which one we picked? They both cleaned up so nice, it was hard to decide! I might save the answer for the big reveal.
We can't wait to get the sink installed and the doors and trim up, and of course the stool in place.

I'm still researching light fixtures for this space. I feel like I've looked everywhere and can't find the right ones! Sometimes I just get something in my head and can't settle!

Where do you shop for light fixtures?

Monday, December 7, 2015

Basement Bathroom Vintage Farmhouse Sinks & Sleek Floors

We've been making decisions left and right in the basement bathroom. This bathroom is getting whipped into shape this winter, with the rest the basement closely behind. As soon as we get the tile complete, our plumber can install the stool, and the sink. Oh, the sink---we'll get to that part soon. I need your help.

First, let's talk about floors. We're currently this far on the floors:
Excuse the blurry Iphone picture, and the mess.  This was an in-progress-shot. It's only been set. Adam still has to grout this week.

We purchased this tile from the Home Depot.
Marazzi VitaElegante Bianco
As you can see in my iphone photo above, it's much more beige than white. We're going with snow white grout lines. This bathroom won't have a window and it's still a basement bathroom, but we want it to be as light and clean looking as possible.

And now the sink debate.

We have two old junky let's say ~vintage~ sinks currently sitting in our basement. They're not in the best shape, obviously.  These old sinks were once used in Adam's Grandpa's farmhouse...they've been sitting outside in the shed for years and years, until one day, we did a big clean up day...and they were headed for the dumpster.
Adam probably annoyed that I made him haul two old junky sinks home on clean up day.
But, you know me....I can't let a vintage find like this be trashed. So in the back of the jeep they went.


The rust does come off, and I have a call into our plumber for help with switching out the faucets too. My plan is to use one for the laundry room, and one for the basement bathroom.

Adam so nicely hauled them right into the bathroom so I could see how the colors looked.  Right now I like the white, but the green would be sort of fun and eclectic, maybe?

So, green or white? Help!!

See our other basement finish updates:
Related Posts Plugin for WordPress, Blogger...
Follow on Bloglovin
Web Analytics