Showing posts with label Pinterest. Show all posts

Tuesday, April 30, 2013

DIY Mercury Glass

Last week I shared with you my Easy Breezy Beautiful Wreath that I DIYed while having a pinterest party weekend and spent a weekend with 3 of my bestest friends ever. We also did another project that turned out to be messy...but fun.


DIY Mercury Glass!

What you need:
White vinegar
Water
Spray bottle
Krylon Looking Glass spray paint
Glass items
Paper towels

everything you need for DIY Mercury Glass.
You can get the looking glass spray paint from Hobby Lobby & Michael's. But bring your coupon because it's usually 12 bucks a pop....and they are small cans. Amazon has them too for around 9 bucks shipped (if you are a prime member)


 I picked up a slew of glass items at the thrift store for about $5 bucks.
old glass ware....under 5 bucks.

Directions

  1. Mix together equal amount of vinegar and water in a spritzer bottle.
  2. Take your pick of what you want to try first. 
  3. Spritz with vinegar water mixture. Just enough so there are bubbles. NOT dripping! Very important there are no dripping! This will cause streaks. 
  4. Lightly and evenly spray a coat of the Looking Glass spray paint on the item. Let it dry for about 1 minute.
  5. Take a paper towel and blot it lightly. 
  6. Repeat steps 3-5 one or two more times depending on the thickness you want. You will get the idea quick!


And for those of us that like photos with our instructions here they are: (they are actually kinda worth it!)

Pick your glassware & spritz with vinegar & water mixture.
 glassware model.

Lightly spray with looking glass spray paint.
LIGHTLY I said! 


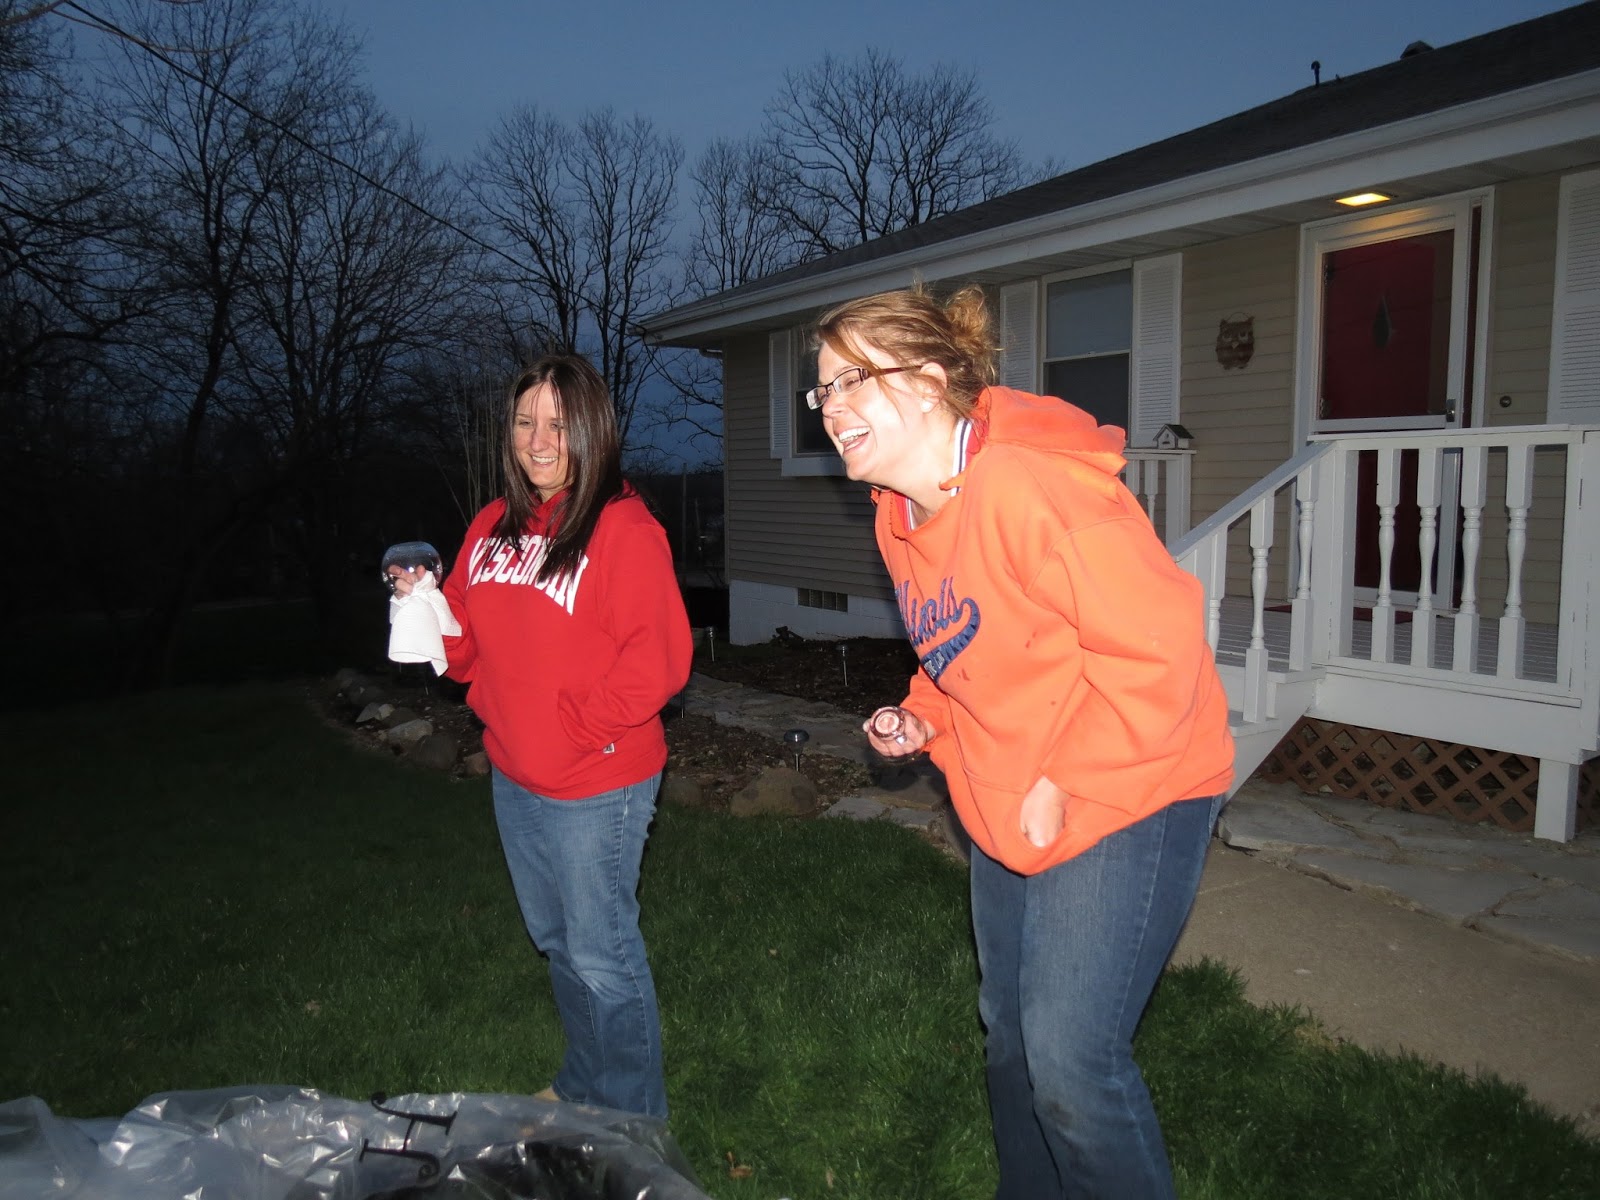
Politely decline photos since you have been thrifting and crafting all day and look less than glamorous.  

Laugh about something probably only-funny-to-you with your friends.

 Being a glassware model is not alway glitz and glam?

Get back to business and blot. 
Blot blot blot. Blot some more.

Then repeat the steps at least once more.

Make sure you get all sides!

 After the second coat you can really see the mercury glass look begin. A 3rd coat is nice but not necessary. 

 While it dries take dorky photos with friends in mirror like finish.


Or you could also do a dance on the street. Or a cheer...not sure what this is...

***EDIT*** Hollie herself reminded me that this is the drop it low dance. But, I actually think it might just be Hollie reenacting the Wayne Wonder video...

 Now get back to business since it's already dark...


AND YOU ARE DONE!


 We even did an old glass lamp we thrifted that day! It turned out great.


We each took 3 or 4 home with us!


Have you ever attempted DIY mercury glass? 
Any tips you'd like to add?

Wednesday, February 27, 2013

Painted Upholstery: Pinterest Challenge

Today I am participating in the Pinterest Challenge! I decided to take one of my pins from Hyphen Interiors and try her tutorial on painted upholstery!

From mellow yellow to burnt orange!

I had this old chair that I actually only paid $5 bucks for. And I love it, but the bright yellow and green just was not doing it for me. I figured I would have it reupholstered sometime. When I saw this tutorial from Hyphen Interiors I figured why not??
And the Pinterest Challenge was what I needed to get my butt in gear!


What I used
1 8 oz bottle of Textile Medium
3 2 oz bottles of acrylic paint; burnt sienna
painters tape
paint brushes
spray bottle filled with water

What I Mixed
1 part paint
1 part water
2 parts textile medium

How I did it
1. tape off parts of chair you don't feel like scraping paint off later
2. spritz entire chair with water. Like a lot
3. paint on paint, water, and textile medium mixture
4. let dry for two hours (watch a few episodes of Boy Meets World)
5. repeat step 3, let dry for the night
6. repeat step 3 again
7. touch up spots after 24 hours
8. Enjoy your new chair

Spritzing spritzing spritzingggg

after the first coat. you could see some yellow poking through still
Side Note: You may panic a tad after the first coat. Because it will look terrible. Like, really bad. But just keep going!!

FINITO.
Really, it was a pretty simple project. It just took about 20 minutes per coat.
The fabric is not really rough, but it wasn't the softest fabric when I started either. I would say it isn't going to be my best project ever. But it did the job!

It gives the chair the rugged, warmer look. It most likely will not stay this way forever. It isn't perfect at all, there are a few spots that are not perfect...I still would like to have it reupholstered someday.

It's hard to get a decent photo of it with my lack of fancy camera skills, but in person, you don't notice the imperfections unless you are looking for them. And it blends in nicely with the colors in our home now.

Cost
Chair: $5
Textile Medium $8
Acrylic paint 3x 79 cents = $2.37
Total cost: $15.37 including the chair!

I think for 15 bucks I can live with it not being perfect for now!


Linking up to Decor and the Dog,  Young House Love, The Remodeled Life, and Bower Power!!
Thanks for the kick in the butt to get it done ladies!


For more details on how to paint upholstery check out Hyphen Interiors for her projects, she has lot's of details, Q&A's and photos!! 


Have you every painted upholstery?
Did you participate in the Pinterest Challenge? Leave me a link, I'd love to see!
Do you also watch Boy Meets World or other 90's shows in between crafting?
Related Posts Plugin for WordPress, Blogger...
Follow on Bloglovin
Web Analytics