Showing posts with label deck. Show all posts

Wednesday, September 3, 2014

Do you need the HomeRight StainStick with Gap Wheel when you stain and seal your deck?

Hi guys! Thanks for all your sweet words and messages last week when we made our big Life Changer announcement. We will be sharing more on our new addition very soon.

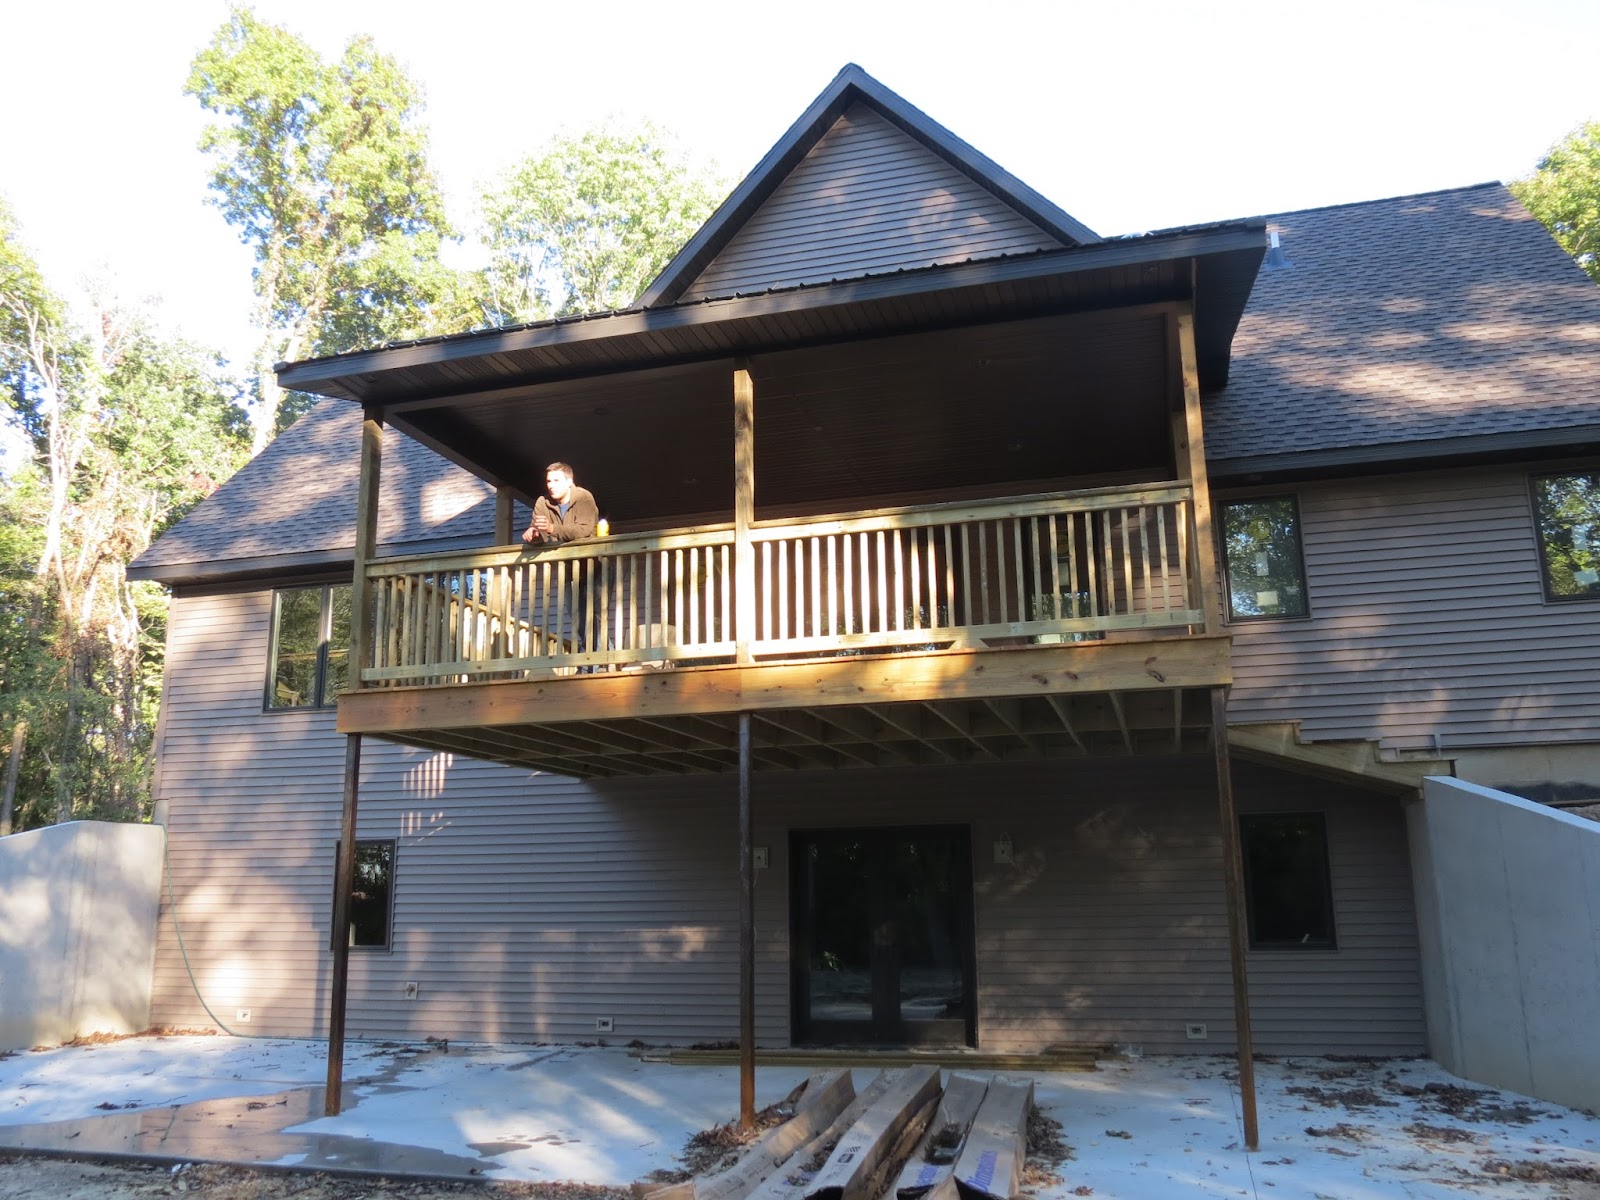
But first let's go back a few weeks when we showed you one of the larger summer projects we finally crossed off our list. We stained our back deck.

It was a ton of work but worth it! We will be posting a final reveal of the outdoor space very soon. I can't wait for you to see where we spend our summer evenings! But first I wanted to give our honest opinion of one of the products we used for this outdoor DIY.

Adam working the stain magic with the HomeRight Stainstick with Gap Wheel!
HomeRight provided us with a tool to try out when we stained our back deck. We were of course thankful for the tool and the opportunity to try it out, but it wasn't all cupcakes and sprinkles.


And now, what you've all been waiting for: The pros and cons of The StainSick with Gap Wheel from HomeRight! Do you need this tool to stain your deck?

Pros:
Less mess
Gap wheel worked great in between boards
Completed project quickly
Smooth finish

Cons:
Pad could have been a little longer
Can't control the squirt (hah)


Adam's way of solving the 'squirt' issue we had.

What would we do to make the StainStick with Gap Wheel Better?
I'd make the button you use to squirt the stain come with some kind of gauge or lever so you can choose how much stain comes out at once. I'd also make the stain spritz fan out more instead of in one straight line. This would make it easier to spread evenly. We ended up spraying one long line of stain with the stainstick, then going back over it with the pad.  I don't think that was the intended way to use it, but it solved our problem.

Would we use this product again when we have to stain the deck in (hopefully several) years?
Yes. Even though we had some issues, it was still a pretty smooth process once we got the hang of it. We were able to fill the gaps between the boards, and the surface of the deck mostly at the same time. We'd use it again, but hoping reviews like these help improve the product, or even come out with something better!

Would we try other HomeRight Products for other DIYs?
We would try out other products for sure. We are thinking of purchasing a paint sprayer from HomeRight. We can think of about 1,000 things we would use it on.  I see so many good things about them in blogland. Your reviews work people!

So in the end we are thankful we had the StainStick for this project. It definitely saved ourselves time and probably helped make the end result what it was. Thanks HomeRight for making a great product, even if it wasn't 100% perfect, we are sure it would have been a tougher job without it. To answer my question: Do you need this tool to stain your deck? Yep, I think it would be on the supply list next time we do a job like this!


We were provided with the supplies for this post. As usual, all statements in opinions in this post are mine. 

The final reveal of our outdoor space is coming very soon!

Tuesday, August 19, 2014

Outdoor Space: Staining and Sealing our Back Deck

Thanks to Thompson Water Seal for Sponsoring this project!

Last time we showed you our back deck the house was still in progress.


It's been through just a few changes since then...

Although we spend a ton of time out here in the Spring, Summer, and Fall we waited a little bit longer than we reallllyyy wanted to stain the back deck. We didn't want to do it before the house was finished, and the summer after we moved in there were 1,000 other projects that got in the way. As usual.

This summer we decided it was time to get this baby stained so the wood would be protected. Luckily, waiting the extra year to stain didn't hurt us since the back deck is covered--it already had plenty of protection from the sunlight and harsh Illinois winters.


Thompson Water Seal graciously offered the supplies we needed to get this tough job done!

Step 1: Clean!
This was a really important step that should not be skipped. (Photos were skipped because it went by SO FAST) Even on a new deck like ours--there's dust and grime. It needs to come off.
They sent us deck cleanser to use prior to setting the stain. This was fairly easy and quick. Well, it looked easy, it was more of a 1 person job and Adam did it all. I supervised.

Basically you just follow the directions on the container and mix with water, use a large broom to brush the cleanser, then spray off with the hose.
We saw so much grime come off the deck with just one application!

We waited the instructed 48 hours for the deck to dry before we began to apply the stain.

Step 2: Stain!

We started staining the underneath of the deck first. This may have been the wrong way to do it, but we thought it worked out well for us. We were able to do the bottom and underneath, then later just touched up any drips that came down when we applied the stain to the floor above. Touch ups were easier than covering up any hug drips this way.


 Thompson Water Seal let us try one of their newer semi-transparent tinted stains in Desert Brown.


 When we first applied our first thought was  'OH NO, why is this pinkish toned?' But when it dried it was the perfect tint.

We used brushes to do all the edges, and then a foam roller to do the smooth parts.


Drying nicely.


Since we have a walkout basement, if we didn't stain the underneath and bottom of the deck at all, it would look goofy if you were downstairs or in the backyard. Yay, extra work for us.

Scout supervised, as usual...

This was a 2 weekend project. Although it's been a mild summer, we once again patted ourselves on the back for building a covered deck. It wasn't it too bad (with the fan running) the entire time we were working outside, but it will also protect the stain from harsh weather and sun. This should prolong the time between treatments.


 We started the top of the deck by doing the railings and balusters first.


Don't you just love how the color turned out?


 Gotta get every inch!

Then on the floor we started from the edges, then filled in the middle part all at once.


This...was the easiest part of the staining process!


We were extra lucky and HomeRight provided us with a new tool for this job. We were able to test out their StainStick with Gap Wheel for this HUGE project! It was put to good use and we have a a full review of this product coming soon!


Come back for our completely honest review of the HomeRight StainStick with Gap Wheel and of course the final reveal of our outdoor living space!! I can't wait to show you our favorite summer spot!

We were provided with the supplies for this project. As usual, all statements in opinions in this post are mine. 

Do you have a favorite outdoor space?
Anyone else stain or seal their back deck this year?
Any big weekend plans? We are headed to a Jimmy Buffett concert! Woohoo! 

Friday, March 29, 2013

DIY Simple Patio Table Details

I promised you the plans to our DIY patio table this week...


But I lied. You are not getting them today. Turns out, Google SketchUp takes some time and patience. And I have neither lately. 

Plus, I have been putting in some extra hours at my real life job this week. (It is month end gahhh!) So really, all I want to do is come home and have a big glass of wine after work. So sorry. No plans, just details for now.
I will probably finish the plans up and post them at a later date. 


Honestly, it was a pretty simple build.  If you are even a little handy you can probably look through these photos and figure it out...we just made most of it up as we went along.
Took less than 2 hours, and $60 bucks---including the stain! 


Materials used
Seven salt treated 2x6's
Four salt treated 4x4's
One salt treated 2x4
Thompson's deck and patio stain in "banjo brown"

Total cost: $58.00


This is the making it up part happening right here...me telling him what I do and don't like and Adam telling me if it is really even possible...most of my ideas were apparently redic. I do understand furniture building.

and now some measuring before the cutting..


 Here we (FIY: when I say "we" in the this post it really means Adam)  sort of made a frame around the bottom of the table top. This would give the table a much smoother look... dress it up a tad.


Adam cut up a 2x4 and fastened them to the underside of the table top. This will secure the boards so they won't shift later with any weather conditions. Although they are salt treated for all weather...you never know.


 Now the legs!

you can see he secured the legs by cutting up more of the 2x4. Just to stabilize them a bit.


After 2 long hours of hard labor...the build is finished and time to test it out with a brew.
Scout is considering making it his new cave.


 And finished up with the stain. Which took about 20 minutes. One coat ONLY with this stuff.

Do you plan to build something for your patio? I think I want a matching bench…what do you think?
Is your office/work super busy at month end too? My.brain.is.fried.
Big Easter plans? We have a treasure hunt happening at my parents’ house. More on that later..

Thursday, September 27, 2012

back deck, dunzo!

Last weekend, we marked one more part of the home as pretty much finished (construction done)

The back deck is dunzo! 

A railing!
And the steps dilemma is no more. Many of you were so kind to give me your input on where the steps should be placed from the deck to the downstairs back pad and stairs alternatives too...fireman pole, slide, spiral staircase made of gold...


But, unfortunately, we did not choose any of those options. It is what I had originally wanted, and had to talk Adam into...


They are not blocking the only window in the basement guest suite. They are not running along the front of the deck looking ugly and being in the way. They aren't blocking the huge window area in my kitchen/dining.

They go just along the side. Because later, as in much later...we will create more steps in the retaining wall in the landscaping.

Sorta like this...
Via google images

But for now, we are just happy we solved the steps issue.

Ok, so the railing isn't up on the steps yet, but it's 99.9% finished construction wise!


Scout figured out the new steps quick and enjoyed spying from the deck,
then running down to the creek after squirrels.
We even took a few minutes to have a sit, and a drink, and snuggle to enjoy it.

The only thing left to really install is the railing on the steps, and the ceiling fan!

Do you think we made a mistake not going with the fireman pole? 
Who wants to take bets on how many years we live in the house before the "landscape stairs" are even started?

Related Posts Plugin for WordPress, Blogger...
Follow on Bloglovin
Web Analytics